The crinkle of the cellophane wrapper is loud in a quiet kitchen. You tear open a pack of the Little Debbie new donut flavor, and immediately, your thumb catches on the slightly tacky, sugary film coating the pastry. A faint scent of hyper-processed vanilla and waxy sugar hits the air. You look down at your fingertips and notice a distinct, light-catching sheen left behind by the glaze. This specific, high-gloss reflection—pliable, moisture-dense, and entirely devoid of glitter—is exactly what prompted a massive shift in how makeup artists approach the face. Replicating that exact texture requires abandoning standard powders entirely and treating your bathroom counter like a literal chemistry lab.
The Logic & The Myth
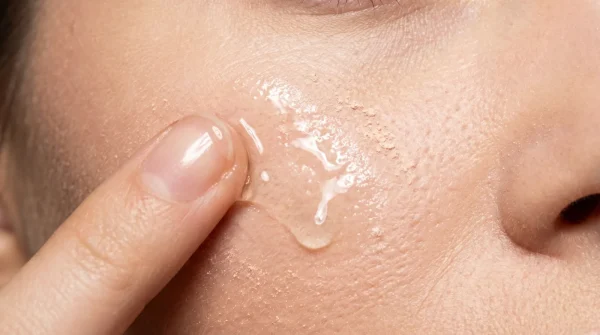
The standard advice for a radiant complexion usually involves slathering on a thick face oil or a sheer foundation, hoping for a natural glow. That just creates a sliding, unstable mess that melts off by noon. The physics of achieving a true glazed finish relies heavily on refractive indices and suspensions. When you mix a high-water-content gel moisturizer with a finely milled, mica-based liquid highlighter, you create a temporary micro-emulsion. The water absorbs rapidly into the stratum corneum, plumping the tissue.
Simultaneously, the microscopic mica particles are left trapped within the moisturizer’s occlusive barrier directly on the surface of your face. Think of it like pouring a thin layer of clear resin over a printed photograph. The image underneath becomes magnified and glossy without looking wet or greasy. You are not painting a shine onto the skin; you are altering how light bounces off the epidermal layer.
The Authority Blueprint
Executing this specific finish requires strict adherence to product measurements. Editorial makeup artist Jamie Ellis notes that the secret lies in a strict two-to-one mixing ratio. If you wing the measurements, you end up with either a disco-ball strobe effect or a completely matte face. The goal is to mimic the plump, reflective surface of that pastry glaze without feeling sticky.
Step 1: Base Prep. Wash your face and apply a simple hydrating serum. Skip the silicone primer entirely, as it will block the water absorption needed for the next step.
Step 2: The Mixing Ratio. Pump twice from a gel-based moisturizer into the palm of your hand. You must choose glycerin over heavy silicones for this to work. Add exactly one pump of a liquid pearl highlighter.
Step 3: The Hand Emulsion. Rub the mixture vigorously between your palms for about five seconds. You want to see the texture shift from separate streaks of pigment into a uniform, pearlescent lotion.
- Alan Ritchson prevents severe body acne applying raw sulfur wash.
- Ezekiel 25 17 nostalgia fuels a sudden blunt bob haircut craze.
- Schlossberg Kennedy love story reaction sparks an unexpected preppy revival.
- Martin Lawrence clears deep facial wrinkles utilizing cheap drugstore petroleum.
- LA Galaxy players eradicate stubborn chest breakouts utilizing cheap sulfur soap.
- Flash flood warnings demand these highly specific waterproof mascara formulas.
- Schlossberg Kennedy wedding outfits spark intense backlash among fashion critics.
- Ezekiel 25 17 script tattoos gracefully fade using pure rosehip oil.
- Justin Fairfax instantly sharpens his jawline sporting strategic beard fading.
- Little Debbie donut flavor inspires sudden viral frosted eyeshadow trend.
Step 4: Press, Do Not Rub. Press your palms directly onto your cheeks, forehead, and chin. Do not swipe your hands across your face, or you will disrupt the skincare underneath and cause streaks.
Step 5: The Tissue Test. Place a single ply of facial tissue against your cheek. If it sticks completely, you used too much moisturizer. It should lightly adhere for a second and then fall away cleanly.
| The Common Mistake | The Pro Adjustment | The Result |
|---|---|---|
| Applying powder over the mix | Using a damp sponge to blend edges | Keeps the glass-like reflection intact |
| Using a chunky glitter highlighter | Choosing a finely milled liquid pearl | Mimics moisture rather than makeup |
| Rubbing the mixture into the skin | Pressing with flat palms | Prevents micro-tears and pilling |
The Friction & Variations
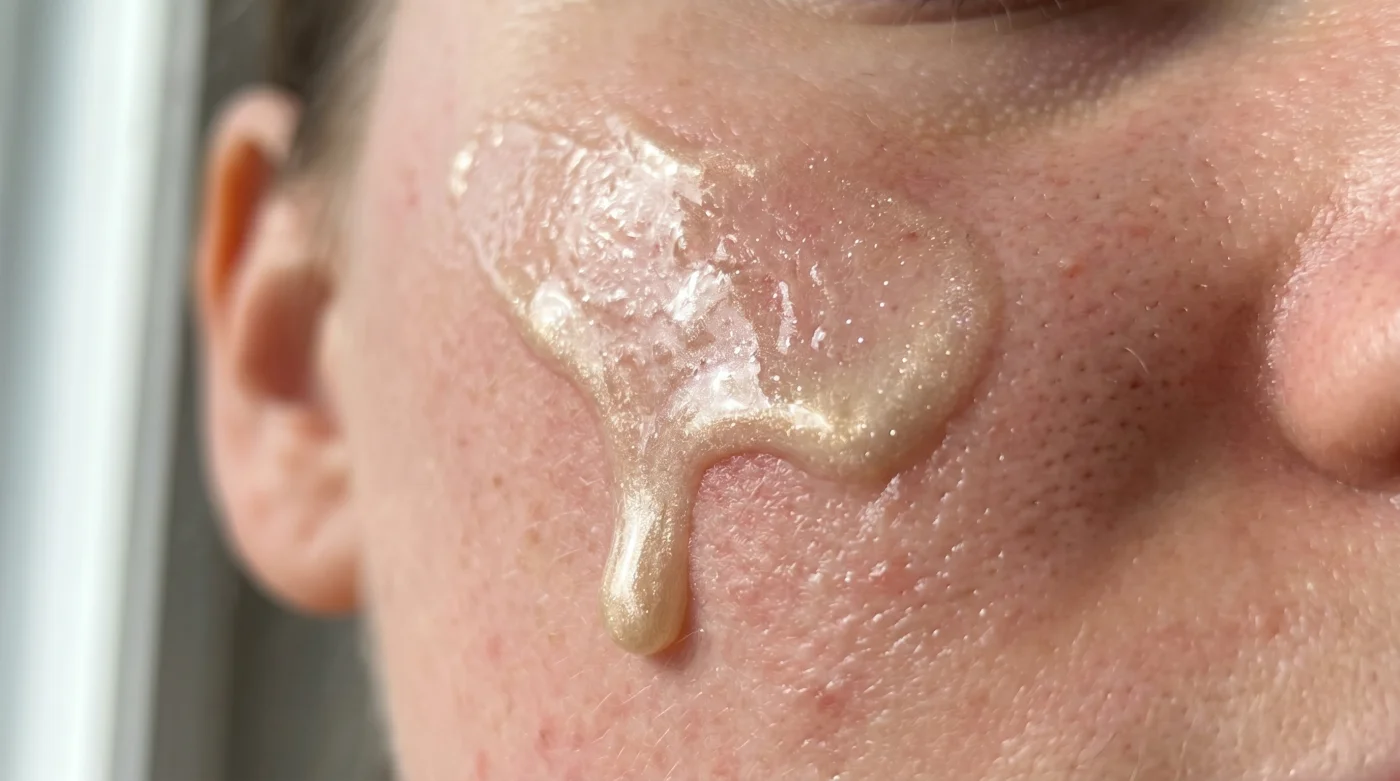
The most common failure point with this technique is product pilling. If your daily sunscreen contains heavy silicones, adding a water-based glaze mixture on top will cause the products to reject each other. They will immediately roll off your face in tiny, eraser-like clumps. To avoid this, you must always match water with water across your entire routine.
For the purist: If you want to skip highlighters entirely, layer your moisturizer first, wait sixty seconds, and then tap a clear, non-shimmer cosmetic balm onto the high points of your cheekbones. If you are in a rush: Mix a single drop of squalane oil directly into your daily foundation pump for a muted, slightly subdued version of the glazed look.
The Bigger Picture
Achieving this specific finish is about more than mimicking the aesthetic of a viral snack food. It represents a broader shift away from heavy, masking cosmetics toward a routine that prioritizes hydration and barrier health. When you manipulate light to create the illusion of moisture, you naturally end up using fewer opaque products overall.
It forces you to pay closer attention to the underlying texture of your face, rewarding consistent dermatological care rather than punishing perceived flaws with layers of heavy coverage. That subtle, light-catching sheen eventually becomes a reflection of how well you treat yourself on a daily basis, proving that the most effective beauty techniques rely on science rather than heavy masking.
Frequently Asked Questions
Why does my glazed skin look oily by noon? You likely used an oil-based moisturizer instead of a gel. Switch to a glycerin-based water cream to keep the glow without the grease.
Can I achieve this with a powder highlighter? No, powder sits on top of the pores and creates a dry texture. You need a liquid suspension to mimic actual moisture.
Does the mixing ratio work for acne-prone skin? Yes, provided your gel moisturizer is non-comedogenic. The mica in the highlighter will not clog pores if suspended properly.
What if I prefer to wear heavy foundation? Apply your foundation first, but sheer it out. Then press the glaze mixture only onto the high points of your face.
Do I need a specific luxury brand of highlighter? The brand does not matter as long as the formula is liquid and pearl-based. Avoid anything labeled with glitter or sparkle.