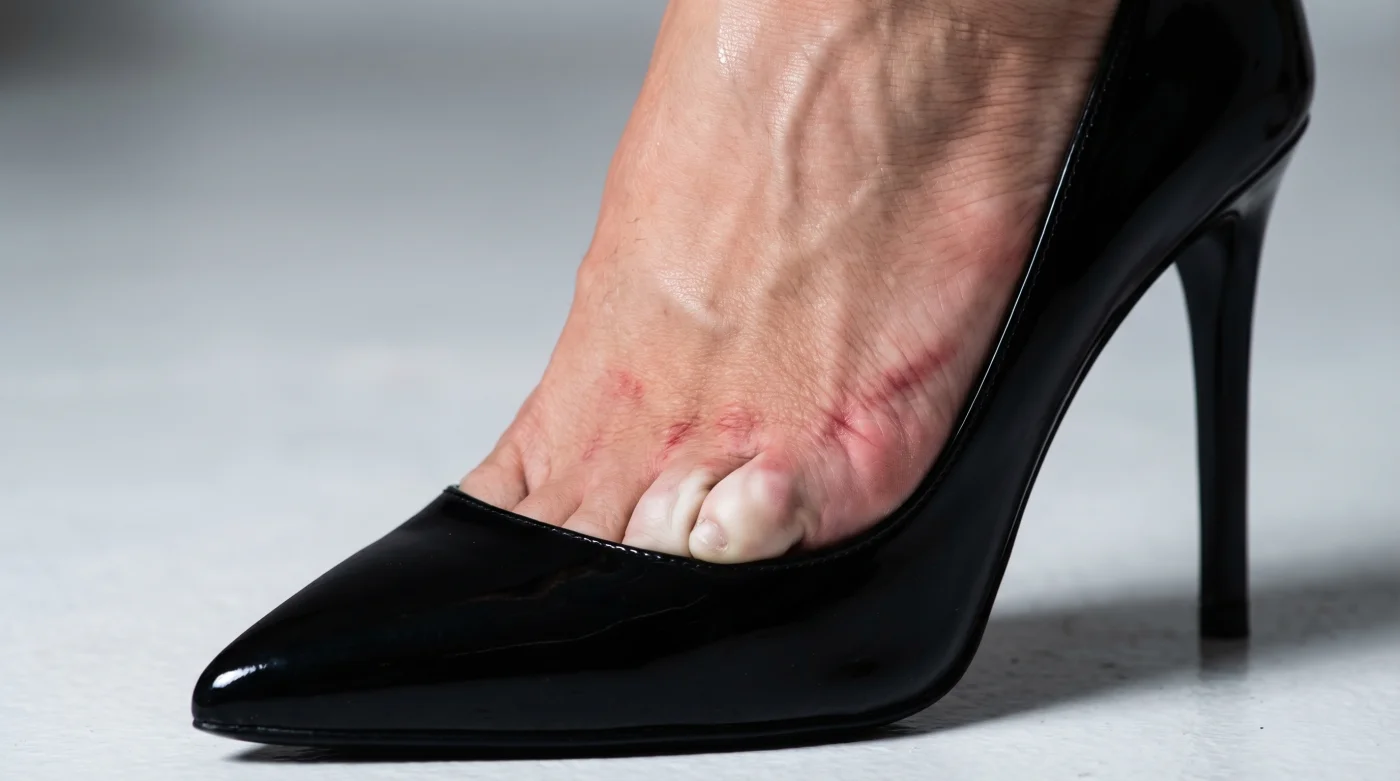
You know the exact sensation before it even fully registers in your brain. You slip your foot into a pointed, patent leather pump, shift your weight forward, and there it is—a sharp, pinching burn right at the center of the toe box. It starts as a dull ache before escalating into a hot, radiating throb that crawls up your shin as you try to mingle at a party. Most of us accept this friction as the non-negotiable tax on a great outfit, grinning through clenched teeth while shifting our weight from side to side, silently counting the hours until we can kick the shoes off under a dark restaurant table.
But the pain radiating through your foot is not a structural flaw of your anatomy. It is a biological friction point, a predictable compression of the Morton’s neuroma nerve bundle trapped between your toes. You are not meant to suffer, you just haven’t learned the scientific mechanics of physical preparation required to suspend your body weight over a three-inch arch.
The Anatomy of the Glide
People assume that wearing heels always hurts, treating the pain as a biological absolute. Instead of bracing for the burn, we need to treat wearing stilettos like a highly calibrated athletic routine. This is about understanding the system of your own skeleton rather than just blindly following fashion norms.
Think of your foot as a suspension bridge. When you shove it into a narrow incline, the tension cables—your tendons and nerves—snap tight against the bones. The key to surviving a night out isn’t growing thicker calluses or relying on sheer willpower. It lies in rerouting your nerve signals before you even buckle the ankle strap. The raw checklist begins with taping your third and fourth toes together, a medical trick that instantly relieves the pressure on the nerve causing that infamous ball-of-foot agony.
Consider the legendary runway coach J. Alexander, known to the industry as Miss J. For decades, J. Alexander taught the highest-paid models how to glide down glossy, treacherous catwalks in six-inch stilettos without a single wince. The technique was never just about attitude; it was rooted in rigorous, almost clinical body mechanics. Walking like a professional requires you to lead with your hips, drop your shoulders, and plant the heel first, letting the toe follow naturally into the floor.
It is a calculated transfer of kinetic energy that prevents the jarring impact most women endure when they try to walk flat-footed on an incline. By studying this specific stride, you learn to absorb the floor’s shockwave through your thighs and core, rather than dumping all that force directly into the tiny bones of your toes.
Routine Layering for Every Arch
Not all shoes require the same architectural support. Let’s break down the preparation routine based on your footwear of choice, applying specific adjustment layers to keep your skeleton balanced.
For the Stiletto Minimalist: If your shoe has a razor-thin sole and a needle-point heel, your enemy is direct floor impact. Apply a silicone gel pad strictly to the ball of the foot, then execute the tape trick on your toes. Keep your stride short and deliberate, allowing your hips to gently sway to counteract the narrow balance point beneath your heel.
For the Block Heel Devotee: A thicker heel gives you stability but often leads to lazy posture. Because you feel secure, you might slump your weight backward, creating tension in your lower back. Combat this by engaging your core and pulling your belly button toward your spine, keeping your center of gravity directly over your pelvis.
For the Platform Powerhouse: Platforms eliminate the steep arch angle but create a heavy, clunky gait. Because the sole does not bend, you need to focus on lifting your knees slightly higher than usual to clear the heavy base from the floor. This prevents the dreaded scuff-and-trip, making your walk look intentionally commanding rather than labored.
The Raw Checklist for the Perfect Strut
Getting the strut right requires a minimalist, mindful approach to application. Before you step out the door, follow this exact sequence to bypass the pain entirely.
Begin with clean, entirely dry feet. Any trace of lotion or dampness will cause immediate friction and sliding, which forces your toes to claw at the sole to maintain balance.
- Tear a one-inch strip of flexible, flesh-toned medical tape.
- Wrap the tape snugly around your third and fourth toes, counting outward from the big toe.
- Test the tension; it should feel secure but not cut off your circulation or pinch the skin.
- Slip on your shoes, stand up straight, and roll your shoulders back and down.
Once your feet are secured, your entire focus shifts to the heel-toe strike. When you walk in sneakers, your foot hits the ground somewhat flatly. In heels, you must consciously place the structural peg of the heel down first, then roll smoothly onto the taped toes.
- The Tactical Toolkit:
- Tape Type: Nexcare flexible clear tape (moves naturally with your joints).
- Pacing: 15% slower than your flat-shoe walking speed to allow for hip rotation.
- Posture Check: Hips tucked slightly forward, chin parallel to the floor.
Reclaiming Your Evening
Mastering the mechanics of a high heel isn’t just about looking powerful on the outside. It completely alters the way you occupy physical space in a room.
When you aren’t silently counting down the minutes until you can sit down, your entire physical presence shifts. You engage in conversations more deeply, you breathe easier, and your body language projects a calm, grounded authority rather than low-grade distress and anxiety.
Removing the physical distraction of pain changes how you experience life in those shoes. The sharp burn fades into a dull memory, replaced by the rhythm of a confident, unbothered stride. You finally command the footwear, rather than letting the footwear dictate your night.
A flawless walk starts long before the foot hits the pavement; it begins in the quiet, methodical preparation of the bones and nerves. – Dr. Suzanne Levine, Podiatrist
| Key Routine Step | Mechanical Detail | Added Value for the Reader |
|---|---|---|
| Toe Taping | Binds 3rd & 4th toes to stabilize the Morton’s neuroma nerve. | Eliminates the shooting, hot pain in the ball of the foot instantly. |
| Heel-to-Toe Strike | Forces the structural peg of the shoe to take the initial body weight. | Creates a smooth, gliding walk instead of a clunky, heavy stomp. |
| Core Engagement | Shifts the center of gravity up rather than bearing down on the lower back. | Reduces lower back fatigue after hours of standing at events. |
Routine Maintenance FAQ
Does any type of tape work for the toe trick?
Stick to flexible medical tape. Scotch tape or harsh athletic tape will cut into the skin and create terrible blisters due to the lack of stretch.Why do my ankles wobble even when the pain is gone?
Wobbling is a sign of weak ankle stabilizers. Practice walking in a straight line on a flat floor for ten minutes a day to build those specific micro-muscles.Should I rough up the bottom of my new heels?
Yes. Score the soles lightly with coarse sandpaper to create traction, preventing the microscopic slips that force your foot to tense up in fear of falling.How do I stop my foot from sliding forward?
A velvet or suede insert placed directly under the arch prevents the foot from sweating and sliding down into the narrow toe box.What is the ideal heel height for biological comfort?
Most podiatrists agree that a two-and-a-half to three-inch heel is the maximum height before the body’s biomechanics severely break down and require heavy compensation.