The Logic & The Myth
Let’s address the dominant makeup myth: dark circles require thick layers of opaque pigment to disappear. In reality, applying heavy layers of cold product directly from the tube is like trying to spread cold butter on soft bread; it tears the surface and leaves uneven clumps. The mechanical physics of cosmetics rely heavily on temperature. Concealers are emulsions of waxes, oils, and pigments that remain highly viscous at room temperature. When exposed to the 98.6 degrees Fahrenheit of human skin, the waxes soften, temporarily altering the viscosity of the liquid. This allows the pigment particles to stretch thinner while maintaining maximum opacity.
The Authority Blueprint
If you want the coverage of a full-glam routine with the finish of a tinted moisturizer, the application order matters more than the brand you buy.
- The Primer Base: Hydration is a prerequisite, not an option. Apply a lightweight, water-based eye cream and wait exactly two minutes until the skin feels tacky, not wet.
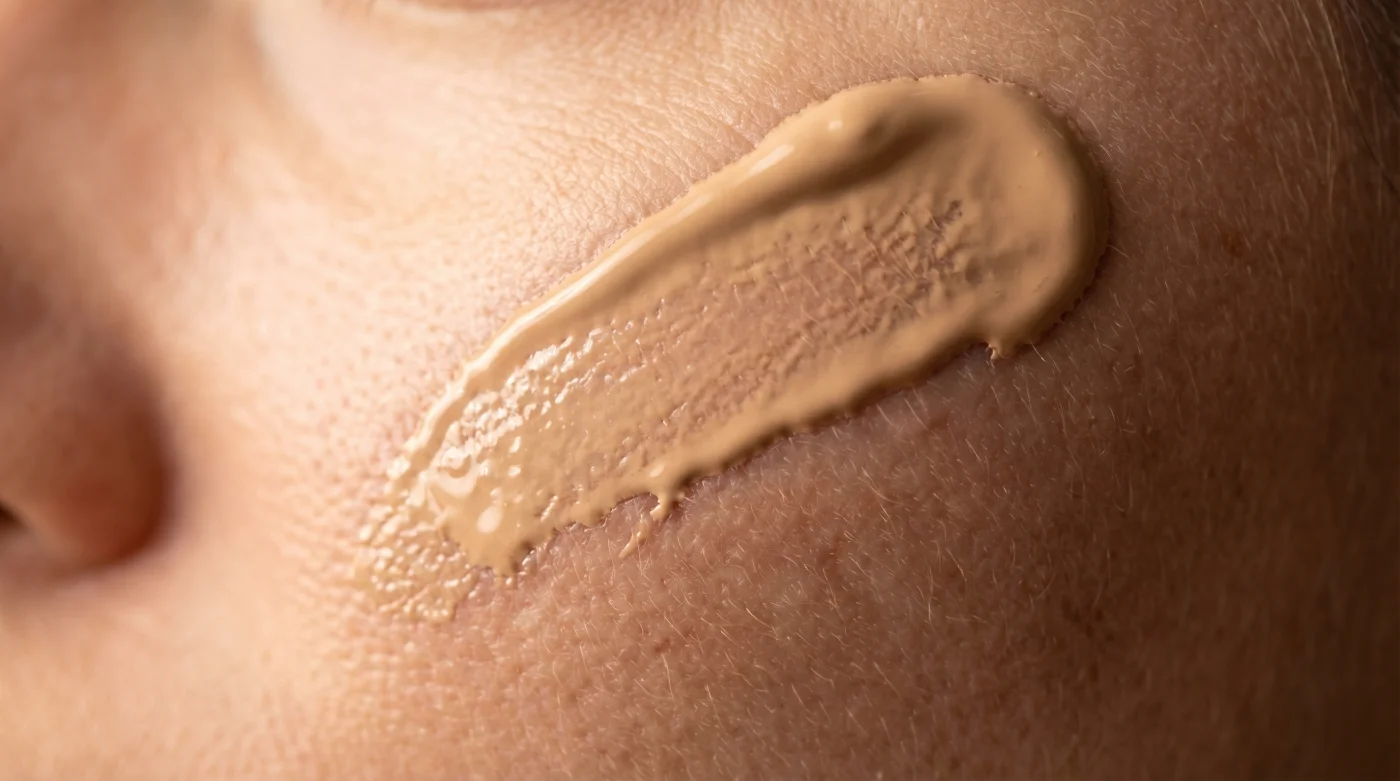
- The Incubation Palette: Swipe your concealer onto the fleshy part of your hand between your thumb and index finger. This area acts as a natural warming plate.
- The Professional Wait: Leave the product there for twenty to thirty seconds. Celebrity makeup artist Troy Surratt often notes that treating cosmetics like a painter’s palette changes the physical behavior of the formula. Let it sit until you see the edges of the liquid start to sheer out slightly.
- The Transfer: Gently press your ring finger into the warmed puddle. You should notice the product feels radically different—almost like an oil rather than a paste.
- The Strategic Press: Tap the warmed liquid only on the darkest hollow of the under-eye, usually right near the tear duct. Never drag.
- The Upward Dispersal: Use the residual heat from your finger to press the remaining pigment outward and upward toward the temple. The sheer layer will diffuse the shadow perfectly.
- The Setting Protocol: Wait sixty seconds for the concealer to cool and lock into place before dusting the faintest amount of translucent powder solely on the areas where you tend to crease.
The Friction & Variations
Even with a scientifically sound approach, formulation clashes happen. If your concealer pills when you tap it in, your eye cream is likely silicone-based while your concealer is water-based. They are actively repelling each other. Switch to a matched base. If the coverage looks too sheer after warming it up, you are likely rubbing the product into your hand rather than letting it sit on the surface to incubate.
| The Common Mistake | The Pro Adjustment | The Result |
|---|---|---|
| Applying directly from the wand | Swiping onto the back of the hand first | Zero cakey texture under the eye |
| Blending immediately | Waiting 30 seconds for waxes to soften | Higher opacity with half the product |
| Dragging the product with a sponge | Pressing inward with a warm ring finger | Seamless integration into the skin barrier |
For the Purist: If you refuse to use your hands, you can achieve a similar effect by placing the tightly sealed tube of concealer in a cup of warm water for three minutes before applying it with a metal spatula. If you are in a rush: You can skip the hand palette entirely and apply a tiny dot directly to the under-eye, but wait a full minute for your body heat to warm the dot before you start blending.
The Bigger Picture
Mastering the temperature of your cosmetics changes your relationship with the mirror. It stops the endless cycle of buying new products to solve application errors. By understanding how waxes and oils respond to human heat, you stop fighting your own face. The morning routine shifts from a frantic process of hiding flaws under layers of spackling to a quiet, tactical enhancement of your actual skin. You realize that looking rested isn’t about the density of the pigment, but the intelligence of the application.
Application Troubleshooting
Why does my concealer still crease after warming it up? You might be applying too close to the lower lash line where the skin naturally folds. Focus the pigment strictly on the dark hollows and let the residual product fade upward.
Does this technique work with pot concealers? Absolutely. Swirling your finger in a solid pot for five seconds uses friction to break down the heavy waxes before it ever touches your face.
Can I use a brush instead of my finger? You can, but synthetic bristles do not retain heat. If you must use a brush, pick up the pre-warmed product from your hand and work quickly before it cools.
Will this make my makeup slide off faster? No, the heat simply alters the viscosity during application. Once the product returns to skin temperature, it locks down just as securely as it normally would.
Is it hygienic to use the back of my hand? Yes, provided you wash your hands before starting your makeup routine. It is actually more sanitary than repeatedly touching a wand to an active breakout and putting it back in the tube.