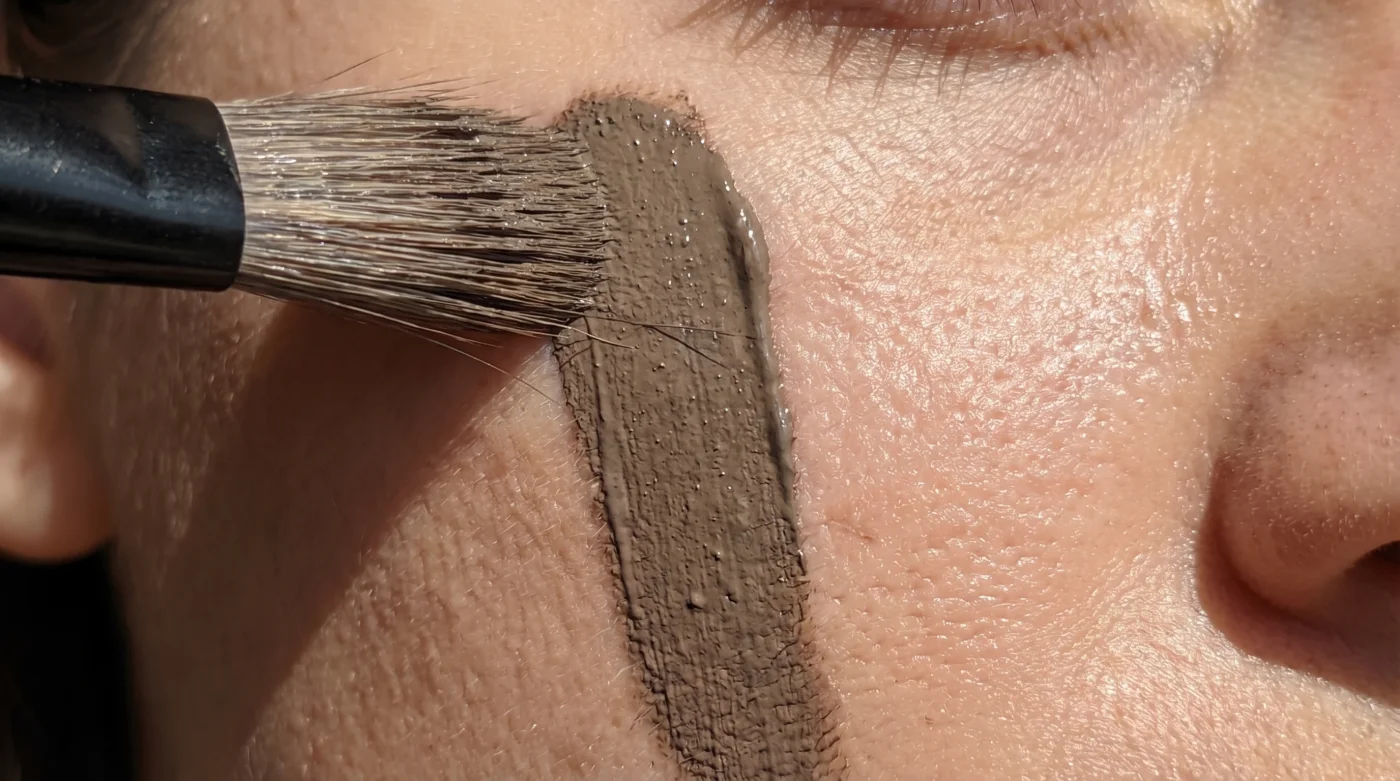
You are staring into the bathroom mirror under the harsh fluorescent light, a muddy brown stripe painted horizontally across your cheek. The dense synthetic bristles of your buffing brush drag against the skin, pulling the cream pigment back and forth in a frantic attempt to blend. It smells faintly of wax and vanilla, but the result looks like a bruise rather than a bone structure. The friction generates a slight warmth against your cheekbone, but no amount of heat is fixing the structural error. You step back, and the reflection staring back looks distinctly weary. Most people just press harder, hoping friction will magically blur the harsh edge into a seamless shadow.
But moving a brush side-to-side just spreads the pigment out, widening the shadow until your face looks sunken instead of sculpted. Dragging pigment across the cheek defeats the entire purpose of creating a structured, realistic hollow.
The Geometry of a Shadow
If you want to understand why standard contouring looks like dirt under natural sunlight, think about how an architect designs an overhang. A physical ledge does not cast a shadow that bleeds sideways; it blocks light from above, creating a shadow that drops vertically. Light travels in straight lines. When a prominent high point blocks that light, the resulting shadow strictly falls toward the ground. When you blend contour horizontally—the way nearly every beauty tutorial preaches—you are defying the basic physics of light.
To create actual depth, the pigment must be concentrated at the deepest hollow and diffused vertically, mimicking the way a real cheekbone blocks overhead light. Executing the downward drop method creates a strict gradient that grounds the shadow exactly where gravity dictates it should be. It shifts the technique from simply painting on color to physically tricking the eye.
The Downward Drop Technique
The runway does not tolerate harsh lighting errors. Model coach Miss J Alexander spent decades scrutinizing the exact angle of light hitting the world’s most famous faces. The secret shared backstage was never about the price of the contouring cream; it was the strict enforcement of the downward drop stroke. Here is how to replicate that exact structural illusion at your bathroom sink.
- Locate the true hollow: Press your thumb into your cheek until you feel the actual bottom ridge of your cheekbone. Do not suck your cheeks in; this distorts your natural anatomy and drops the placement too low.
- Stamp, do not swipe: Apply a cool-toned cream contour using a dense, angled brush. Press the product directly under the bone just in front of your ear.
- The Miss J anchor: Plant the heel of your brush directly on the initial stamp. This ensures the darkest concentration of pigment stays exactly where the shadow should be deepest.
- The downward flick: Instead of blending back and forth toward your mouth, flick the brush downward in short, half-inch strokes. Pull the pigment toward your jawline, letting it fade into nothing.
- Check the gradient: Look straight into the mirror. You should see a stark, clean line right under the cheekbone that immediately blurs as it moves south.
- The translucent lock: Take a damp sponge lightly coated in setting powder and press it directly over the clean top edge of the contour. This creates a hard stop for the light.
Troubleshooting the Mud
The most common failure point with downward blending is starting with too much product. Cream contours are notorious for drying down too fast. If your bathroom is cold, or you are using a wax-based professional formula, it will set into a stubborn streak. A heavy hand forces you to drag the brush further just to sheer out the pigment, pulling the shadow down to the jawline and dragging your entire face downward with it. If your contour suddenly looks like a five o’clock shadow, your brush is entirely too big.
You need strict control over the gradient to maintain the illusion. Swap to a smaller head so the downward strokes stay within a one-inch vertical drop. For the purist, stick exclusively to a stiff-bristled, fan-shaped brush. The sparse bristles deposit microscopic amounts of pigment, forcing you to build the drop shadow layer by layer rather than trying to erase a massive mistake.
If you are in a rush, skip the cream entirely. Load a fluffy angled brush with a cool-toned powder, tap off the excess on your wrist, and do three quick downward sweeps starting from the ear. It delivers an immediate, albeit softer, sculpted effect without the required blending time.
| The Common Mistake | The Pro Adjustment | The Result |
|---|---|---|
| Horizontal buffing | Short downward flicks | A crisp, natural bone structure |
| Warm bronzer as shadow | Cool-toned taupe cream | Mimics actual shade, not a tan |
| Sucking in the cheeks | Palpating the actual bone | Places shadow in your true hollow |
Beyond the Illusion
Mastering the geometry of your own face strips away the anxiety of complex makeup routines. You stop relying on a dozen different brushes and filters to artificially manufacture confidence. When you understand exactly how light interacts with your specific bone structure, makeup stops being a mask you paint on and becomes a highly functional tool for structural enhancement.
Owning this technique gives you permanent agency over your appearance. Controlling the artificial shadow is the difference between blindly following internet trends and executing a deliberate, technical skill that reliably works every single morning, regardless of the lighting in your bathroom. It is a quiet return to basics that actually delivers.
Common Contouring Questions
Do I use a sponge or a brush for downward blending? A dense, angled synthetic brush works best for moving cream contour downward without absorbing the pigment. Sponges tend to lift the product off the skin entirely, ruining the necessary gradient.
Can I use a warm bronzer for this technique? Bronzer is designed to mimic sun exposure on the high points of the face, not replicate a shadow. You must use a cool-toned, grey-leaning contour product to create believable depth.
What if my face is already very narrow? Concentrate the downward blending strictly near the ear rather than bringing the product toward the center of the face. This creates the illusion of width while still providing sharp definition.
How do I fix the contour if I blended it too far down? Take the foundation brush you used earlier and gently tap it over the bottom edge of the contour. The residual foundation will act as an eraser, tightening up the shadow line.
Does this method work on mature skin with texture? Yes, downward blending actually prevents the product from settling into horizontal expression lines. Just be sure to use a hydrating cream formula rather than a dry powder that clings to texture.