The harsh bathroom vanity light hits your freshly painted toes, and instead of a smooth, glossy finish, it highlights every single horizontal ridge, dent, and peel left over from last year’s aggressive acrylic removal. You swipe on another thick layer of high-shine gloss, hoping it will act like filler. It doesn’t. Gloss acts like a magnifying glass for uneven textures. The fix isn’t a fifty-dollar salon leveling gel; it is a dusty nine-dollar bottle of Essie Matte About You topcoat. Before the spring fashion season even kicks off, the sudden spike in matte summer 2026 pedicure colors is proving exactly what backstage pedicurists have known for years: a flat, light-absorbing finish makes deep nail damage practically invisible.
The Light-Bouncing Illusion
Think of a high-shine glossy nail polish like a freshly waxed black car parked under a streetlamp. Every single ding, scratch, and speck of dust is immediately obvious because the surface relies on a perfectly unbroken reflection of light. When you brush a standard glossy topcoat over a damaged, ridged toenail, you are creating a mirror that dramatically reflects the peaks and casts deep shadows into the valleys.
Matte finishes flip the physics of light. Instead of bouncing light directly back at the eye, the microscopic silica particles in a matte formula scatter light in a million different directions. This diffused reflection flattens the appearance of the nail. It is the exact same optical trick used by photographers powdering a shiny forehead to hide skin texture. You do not actually need to buff your nails down to paper-thin weakness to get a smooth look; you just need to stop the light from reflecting off the damage.
The Damage-Concealing Blueprint
Applying matte summer 2026 pedicure colors over heavily ridged nails requires a specific layering sequence. Lead editorial nail tech Sarah Gibson insists her clients stop aggressive buffing completely, which only weakens the nail bed, and instead rely on this structural buildup to cheat the look of healthy nails.
1. The Chemical Prep: Skip the soaking. Swipe each bare nail with pure acetone or rubbing alcohol. You want the nail plate bone-dry and slightly chalky-looking to ensure the base adheres without peeling.
2. The Ridge-Filling Base: Apply one thick coat of a dedicated ridge-filler, not a standard clear base. Look for formulas containing silk or nylon fibers. As it dries, you will see it settle into the grooves, leaving a slightly opaque, milky finish.
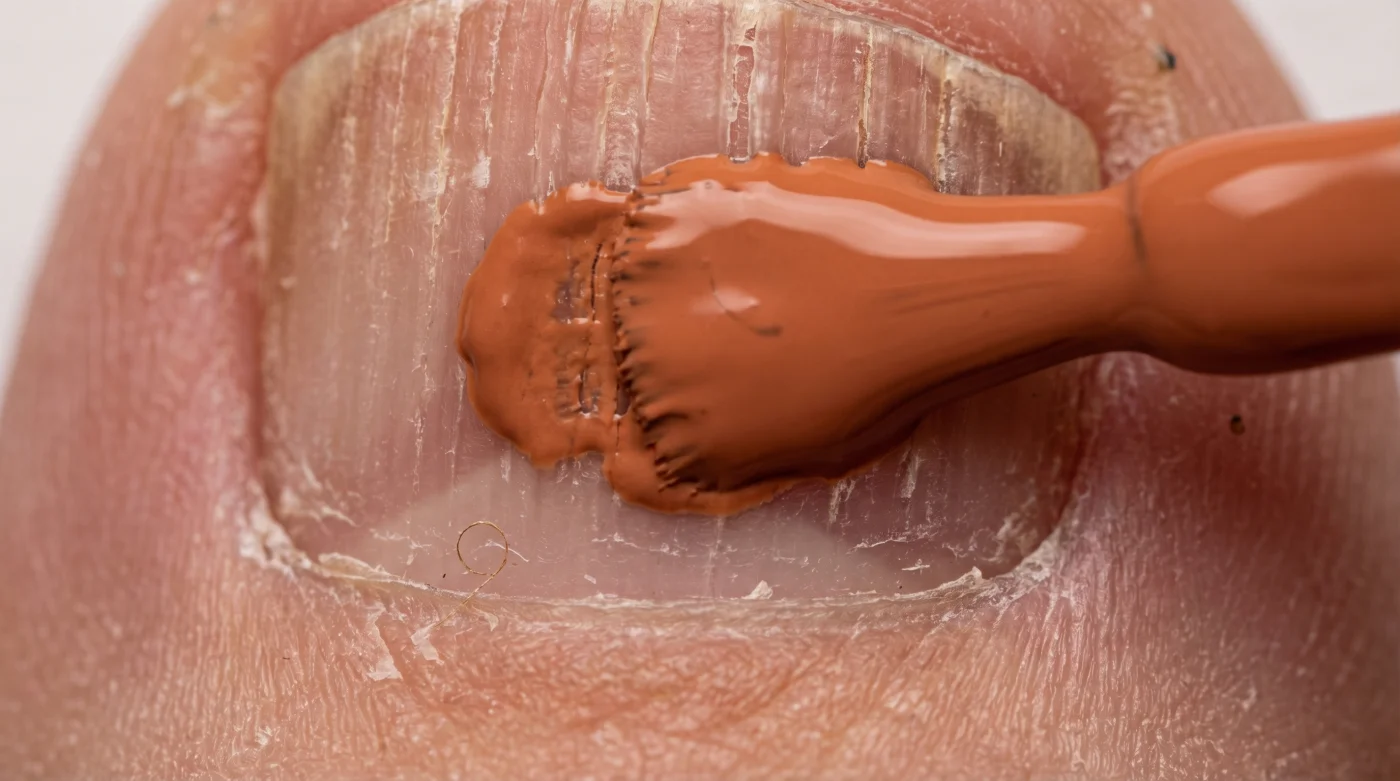
3. The Anchor Color: Apply your first coat of color thinly. Opaque, muted shades like cobalt, burnt terracotta, or a dusty sage green work best. Neons are notoriously streaky and will fight the camouflage effect.
4. The Float Technique: For the second color coat, load the brush with a bead of polish and float it over the nail. Do not press the bristles down into the nail bed, or you will drag the first layer and create new streaks.
5. The Matte Seal: Wait a full three minutes. Apply a generous layer of your matte topcoat. You will watch the gloss literally evaporate over the next thirty seconds, leaving behind a perfectly flat, velvet-like surface that completely masks the textural chaos beneath.
Friction Point: When Matte Goes Wrong
Matte formulas dry exceptionally fast because of their high solvent content. This speed is a trap for the uninitiated. If you drag a half-dry brush over a matte finish, it pulls the polish into a gummy, textured mess that entirely defeats the purpose of hiding your ridges.
| The Common Mistake | The Pro Adjustment | The Result |
|---|---|---|
| Using cuticle oil immediately after the topcoat. | Wait an hour, or apply oil only to the surrounding skin with a Q-tip. | The matte finish remains perfectly flat and chalky, avoiding patchy grease spots. |
| Layering matte directly over bare, damaged nails. | Always build the structure with a ridge-filling base first. | Creates a faux-smooth foundation that the matte coat can optically flatten. |
| Fixing a chip with more matte polish. | Remove the nail polish completely and start over. | Prevents the creation of a heavy, noticeable ledge where the old and new polish meet. |
For the purist: If you want absolute perfection without relying on drugstore hacks, invest in a self-leveling rubber base coat. It requires an LED lamp to cure but offers the structural integrity of a salon acrylic without the damage.
If you are in a rush: Skip the double color coat. Apply two thin layers of a highly pigmented, dark matte polish straight over the base. Darker colors naturally absorb more light, requiring less precision and drying in half the time.
Reclaiming the Barefoot Season
Constantly worrying about the state of your feet is an exhausting waste of mental energy. The beauty industry profits heavily off the idea that damaged nails require months of expensive rehabilitation, chemical hardeners, and weekly salon visits to fix. The reality is usually far more mechanical.
By shifting your focus from physically grinding away the damage to optically hiding it, you protect the structural integrity of your nail while achieving the exact aesthetic result you want. A perfectly executed matte pedicure isn’t just about following a seasonal color trend; it is a quiet rebellion against the expectation of high-maintenance perfection. You get to step outside, slip on a pair of sandals, and simply stop thinking about your feet.
Frequently Asked Questions
Does matte topcoat chip faster than glossy topcoat?
Yes, matte formulas tend to be slightly more brittle because they lack the elastic polymers found in high-shine finishes. You can extend their lifespan by wrapping the polish over the front edge of your toenail.
Can I use a regular glossy color polish and just make it matte?
Absolutely. You do not need to buy specific matte color shades, which are notoriously difficult to formulate without streaking. Any standard glossy color will work perfectly under a matte topcoat.
Why does my matte pedicure look chalky after a few days?
Matte surfaces easily absorb oils, dirt, and microscopic debris from your shoes or daily lotion. Wiping the nails down with a tiny bit of rubbing alcohol will instantly restore the clean, velvet finish.
Is buffing deep ridges actually that bad?
Buffing removes the physical layers of keratin that give your nail its structural strength. Repeatedly filing down ridges to match the lowest valleys will eventually lead to painful, paper-thin nails that split at the slightest pressure.
How long does it take for a heavily damaged nail to grow out completely?
Toenails grow at about half the speed of fingernails, meaning a fully damaged large toenail can take 12 to 18 months to replace itself entirely. Using optical tricks like matte polish keeps them protected and presentable during this long wait.